

I built a React app to create LinkedIn carousels
Then I pushed it to Vercel...did it work?

Disclosure: This article was written by me, a human, after I spent about way too much looking for ways to avoid manually pasting text into Canva templates, which I find really annoying. Claude lightly edited this article and also wrote a bunch of demo carousels.
Also, I want to say THANK YOU to Sam Illingworth, who helped me test the tool featured in this article. He’s a professor and poet whose Slow AI newsletter offers weekly prompts designed to help you use AI with intention and in ways that don’t rot your brain. They’re awesome, and I’ve saved quite a few with Prompt Collector.
Sam just announced the 12-month Slow AI Curriculum for AI Literacy with monthly seminars covering everything from algorithmic bias to the collapse of truth as we know it, and I’ve already signed up. While they’re going fast, there are still a few seats left available at his special launch rate.
LinkedIn is the only social media outside of Substack that I use with any regularity. While I don’t love it or even really like it, I’m on it most days to search for clients, explore fractional opportunities, reconnect with former colleagues, and occasionally share something I’ve learned.
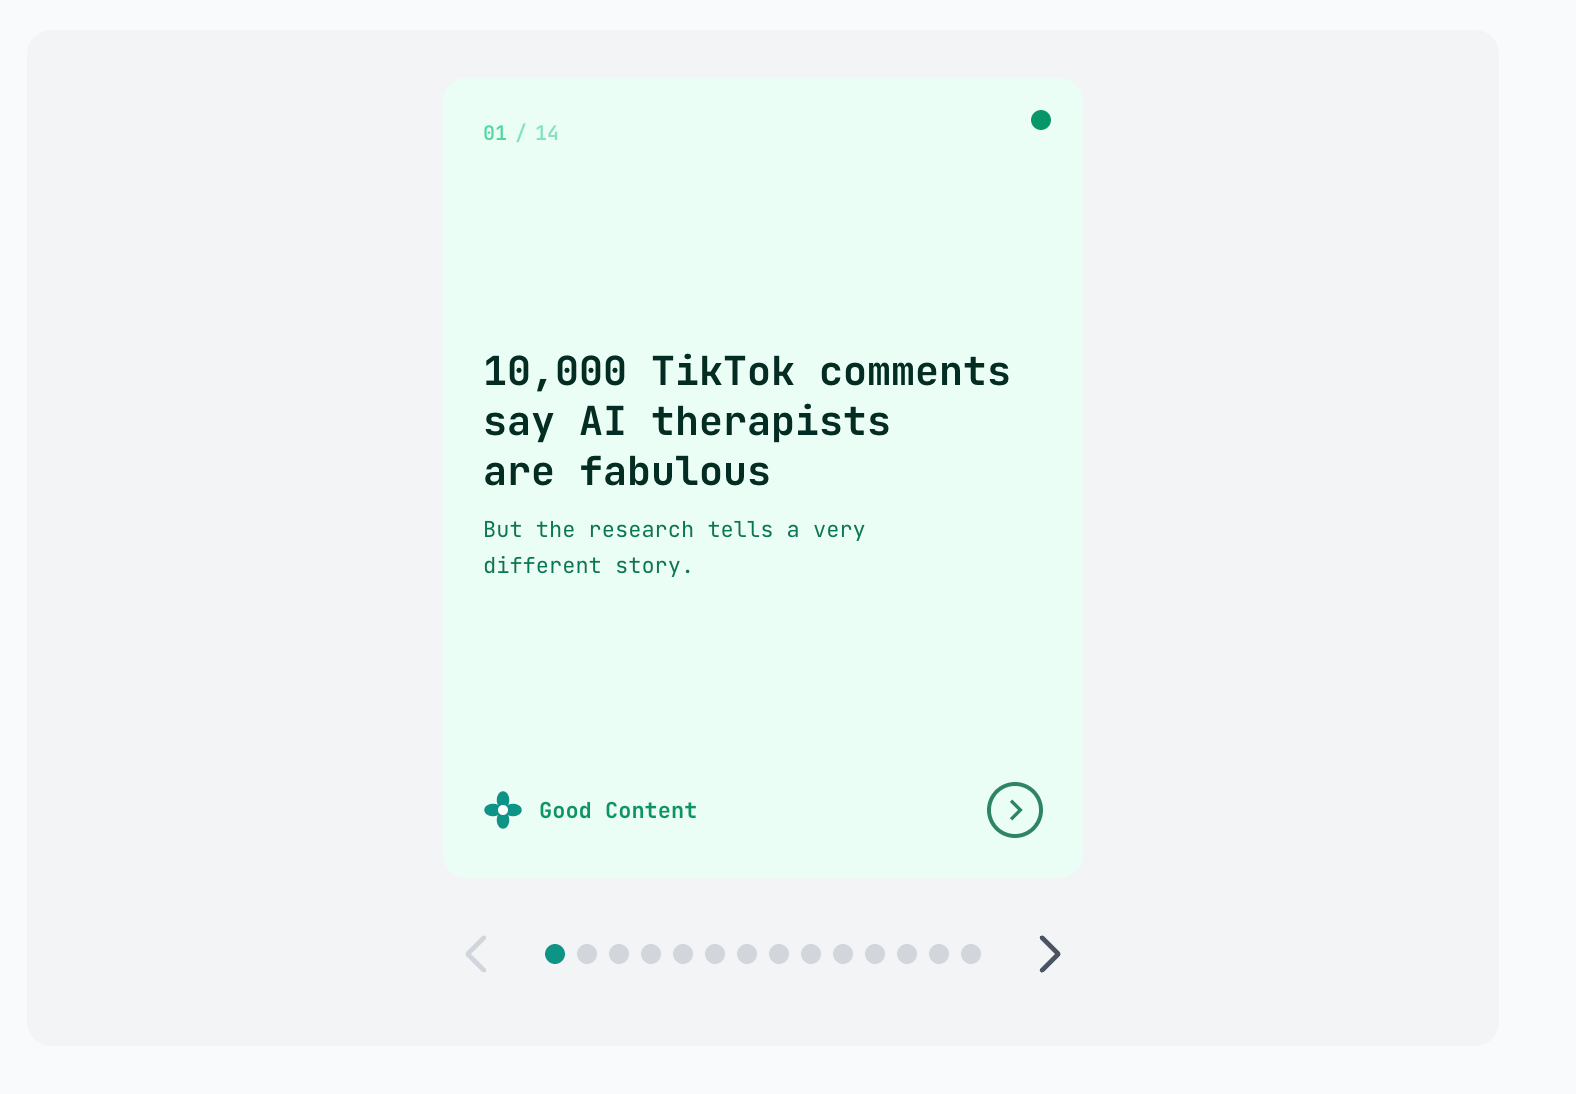
One of the most popular content formats on LinkedIn is the carousel. They’re swipe-able multi-slide posts that break down complex ideas into digestible chunks. They’re perfect for highlighting key points from a longer article, sharing statistics, or telling a visual story. And, they’re saved frequently, which mean they outperform single-image posts in engagement.
They’re also one of my least favorite things to create.
The carousel creation problem
Creating a LinkedIn carousel involves two distinct challenges. First, you have to condense your content into bite-sized chunks, distilling a 2,000-word article into 8-10 concise slides that tell a coherent story. That’s the writing challenge, and honestly, it’s the fun part. It forces you to identify what really matters.
The second challenge is design and assembly. You’re essentially creating a miniature slide deck. Each slide needs consistent formatting. Text needs to be readable. Colors need to work together. And then you have to export everything as images or a PDF in the right dimensions.
I’ve tried multiple approaches over the years:
Adobe Express: This is a very light design tool, but it still offered too many choices for me. I’d spend 30 minutes just choosing fonts and generating AI images and moving graphics around. By the time the carousel was done, I’d forgotten why I wanted to share the content in the first place.
Canva templates: Better, but still lots of copy-paste. Select text, copy, switch to Canva, click the text box, paste, adjust. Repeat for every slide. For a 10-slide carousel, that’s easily 30-40 context switches. Death by a thousand clicks.
Gamma: This AI-powered tool gets you 80% of the way there, but that last 20% is painful. It loves to add random images that have nothing to do with your content and overcomplicate layouts. Updating bad images and fixing the formatting still takes significant time.
What I wanted was simple: a near-instantaneous way to create a carousel from a Substack post, a text snippet, or some rough notes. I wanted to spend maybe 15 minutes on the whole process, mostly editing and customizing the copy. Zero time on cut-and-paste. Zero time fiddling with design elements.
First attempt: Claude Chrome extension + Canva
My first idea was to use Claude, Anthropic’s AI assistant, as a bridge to Canva. I’d been using the Claude browser extension and wondered if I could have Claude read my article, generate carousel copy, and then somehow automate the Canva workflow.
The copy generation part worked great. Claude took a 2,000-word article and produced draft copy for carousel slides in seconds. I refined it in a Google Doc, then passed the content back to Claude and asked it to pick a template and paste in the copy.
But I realized this approach wouldn’t work when I watched Claude try 126 times to try and close a Canva promotional pop up and still fail. I tried a second time, and it got stuck on slide #1.
Second attempt: a Canva-obsessed agent
My next idea was a Canva-loving agent that would independently run the carousel design process. I started sketching this out, imagining a tool that would take structured carousel content and automatically populate a Canva template.
This idea died quickly. Canva’s Terms of Service explicitly prohibits:
“using any automated system, including without limitation ‘robots,’ ‘spiders,’ ‘offline readers,’ etc., to access the Service in a manner that sends more request messages to the Canva servers than a human can reasonably produce in the same period of time by using a conventional on-line web browser”
They do offer an Autofill API, but it’s only available to Enterprise customers. For a solo project, this was a dead end.
Third attempt: a Figma plugin
Figma seemed more promising. It’s a professional design tool with a robust plugin ecosystem, and designers use it for everything from UI mockups to presentation decks. It has galleries of community-created templates and supports programmatic interaction through plugins.
I started building a Figma plugin that would accept JSON data (a structured text format that most software can easily read) containing the carousel content and generate slides automatically. The technical implementation was straightforward enough.
But as I built it, I realized the user experience would be less than idea, at least for my use case. The workflow would look something like: write content, format it as JSON, upload the JSON file, navigate to Figma, run the plugin, then export the result. That’s a lot of steps for someone who just wants to create a quick carousel.
More importantly, I knew myself. Put me in Figma, and I’ll spend an hour adjusting letter spacing and experimenting with color gradients, without necessarily creating an attractive design. The tool’s flexibility would become a trap. I’d end up doing exactly what I was trying to avoid: fiddling with design when I should be doing literally anything else.
This approach might work well for designers who want granular control over every element. But for my use case (e.g., quick, clean carousels that prioritize content over design flourishes) it was overkill.
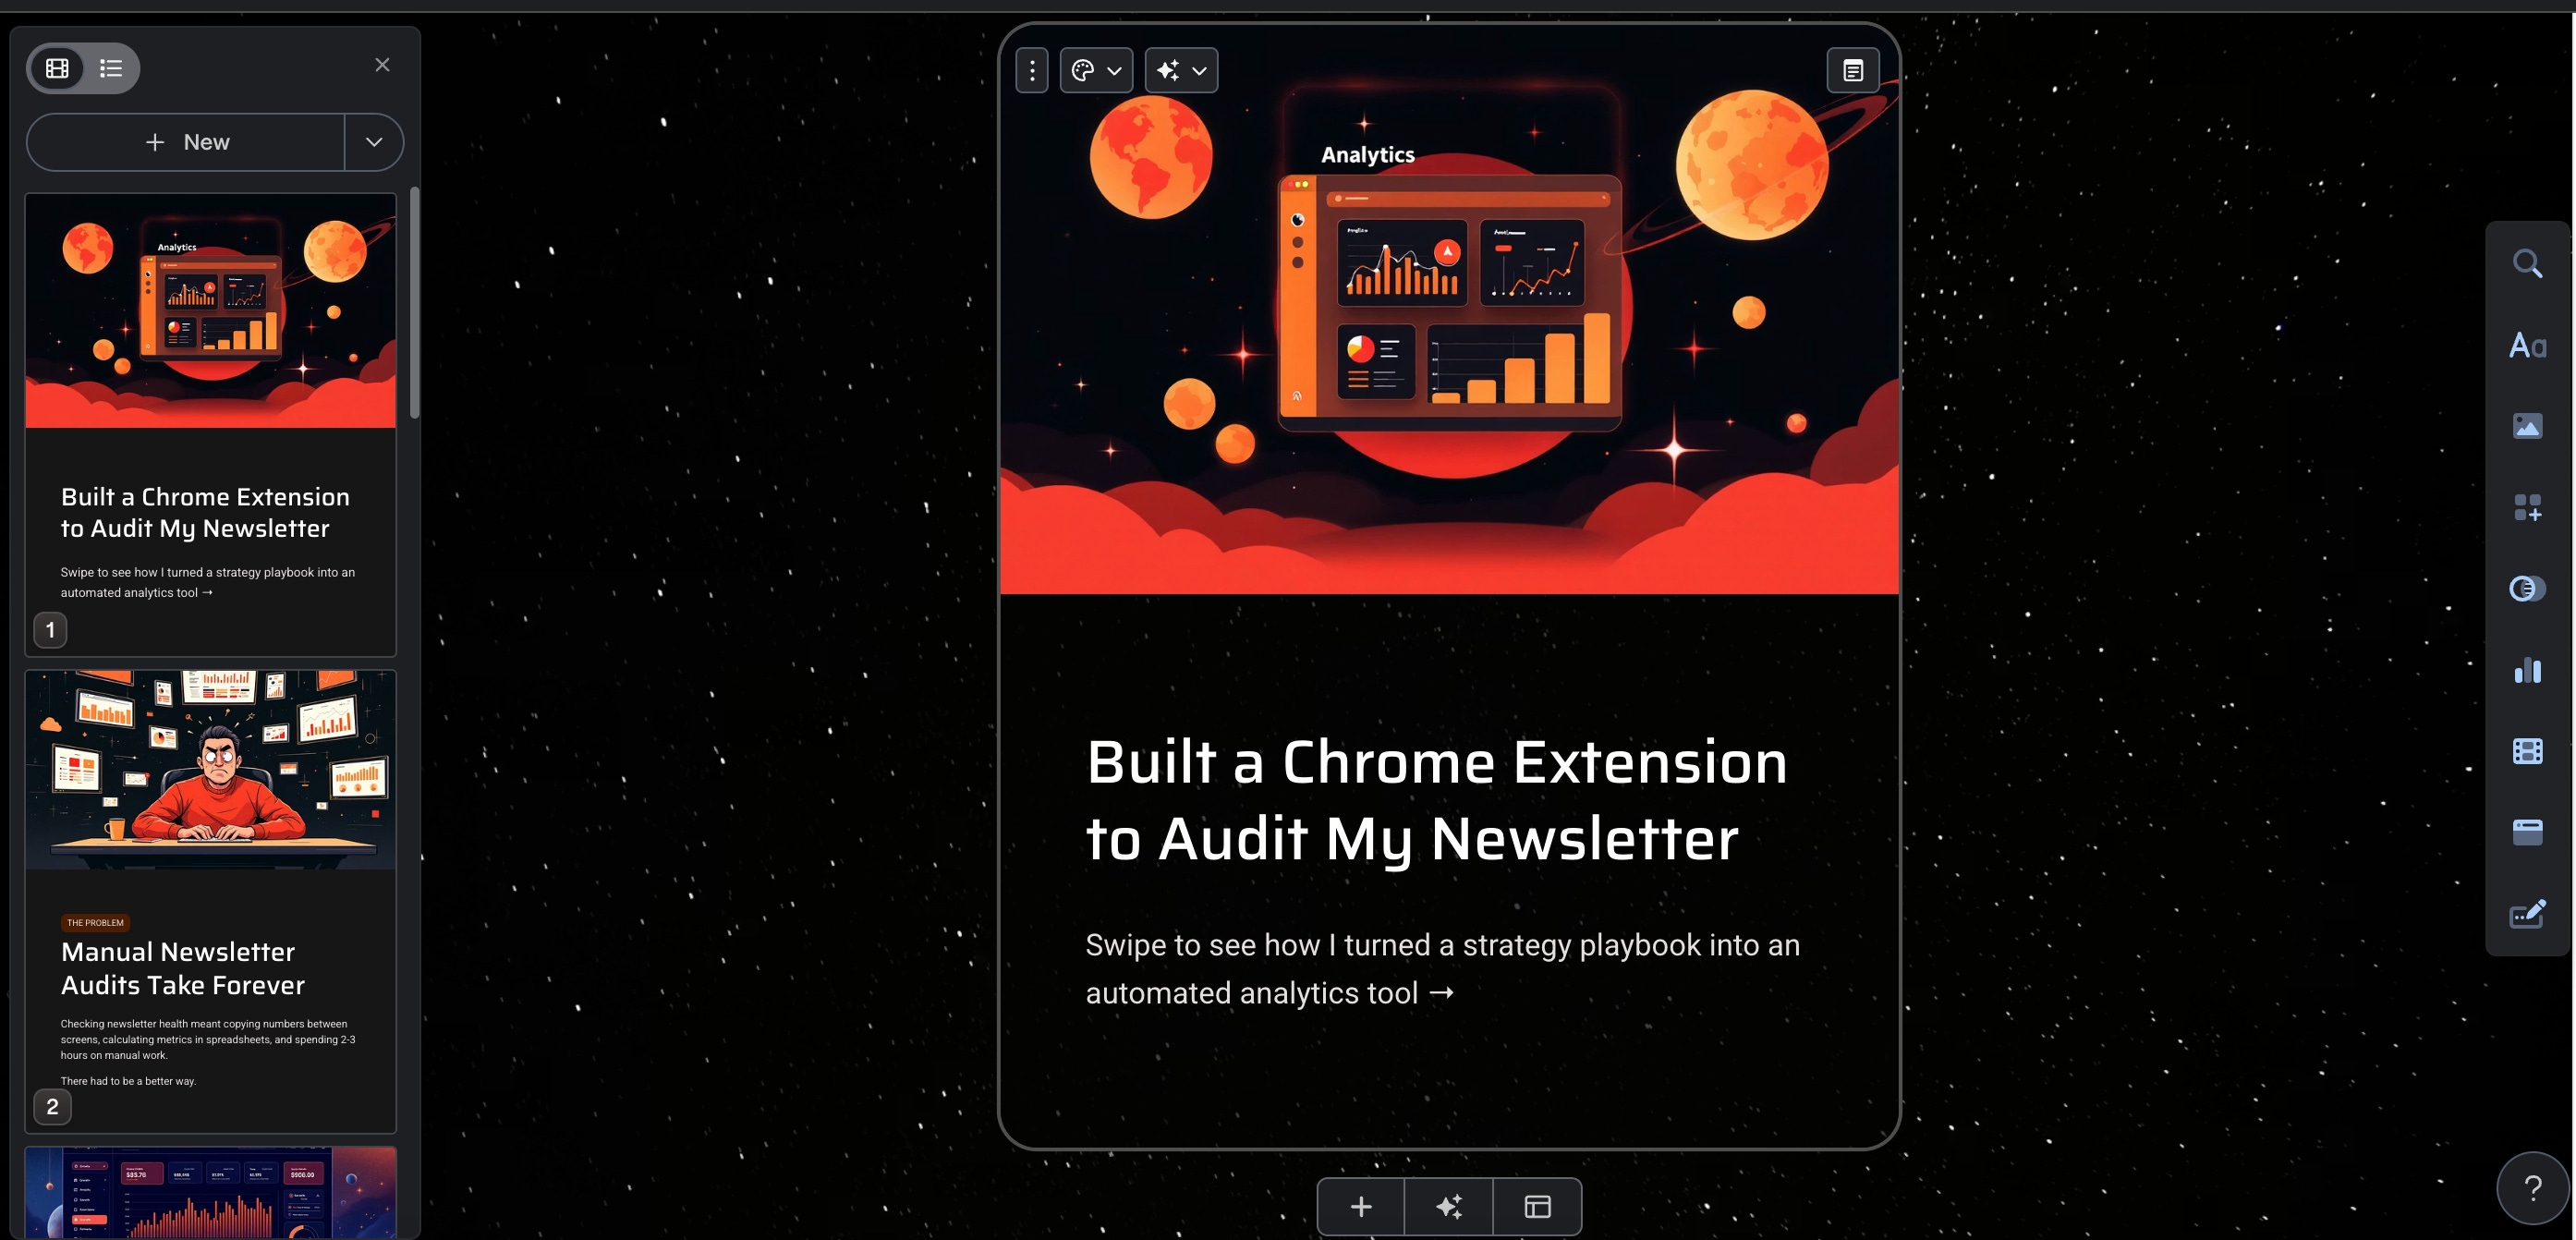
CarouselBot is born
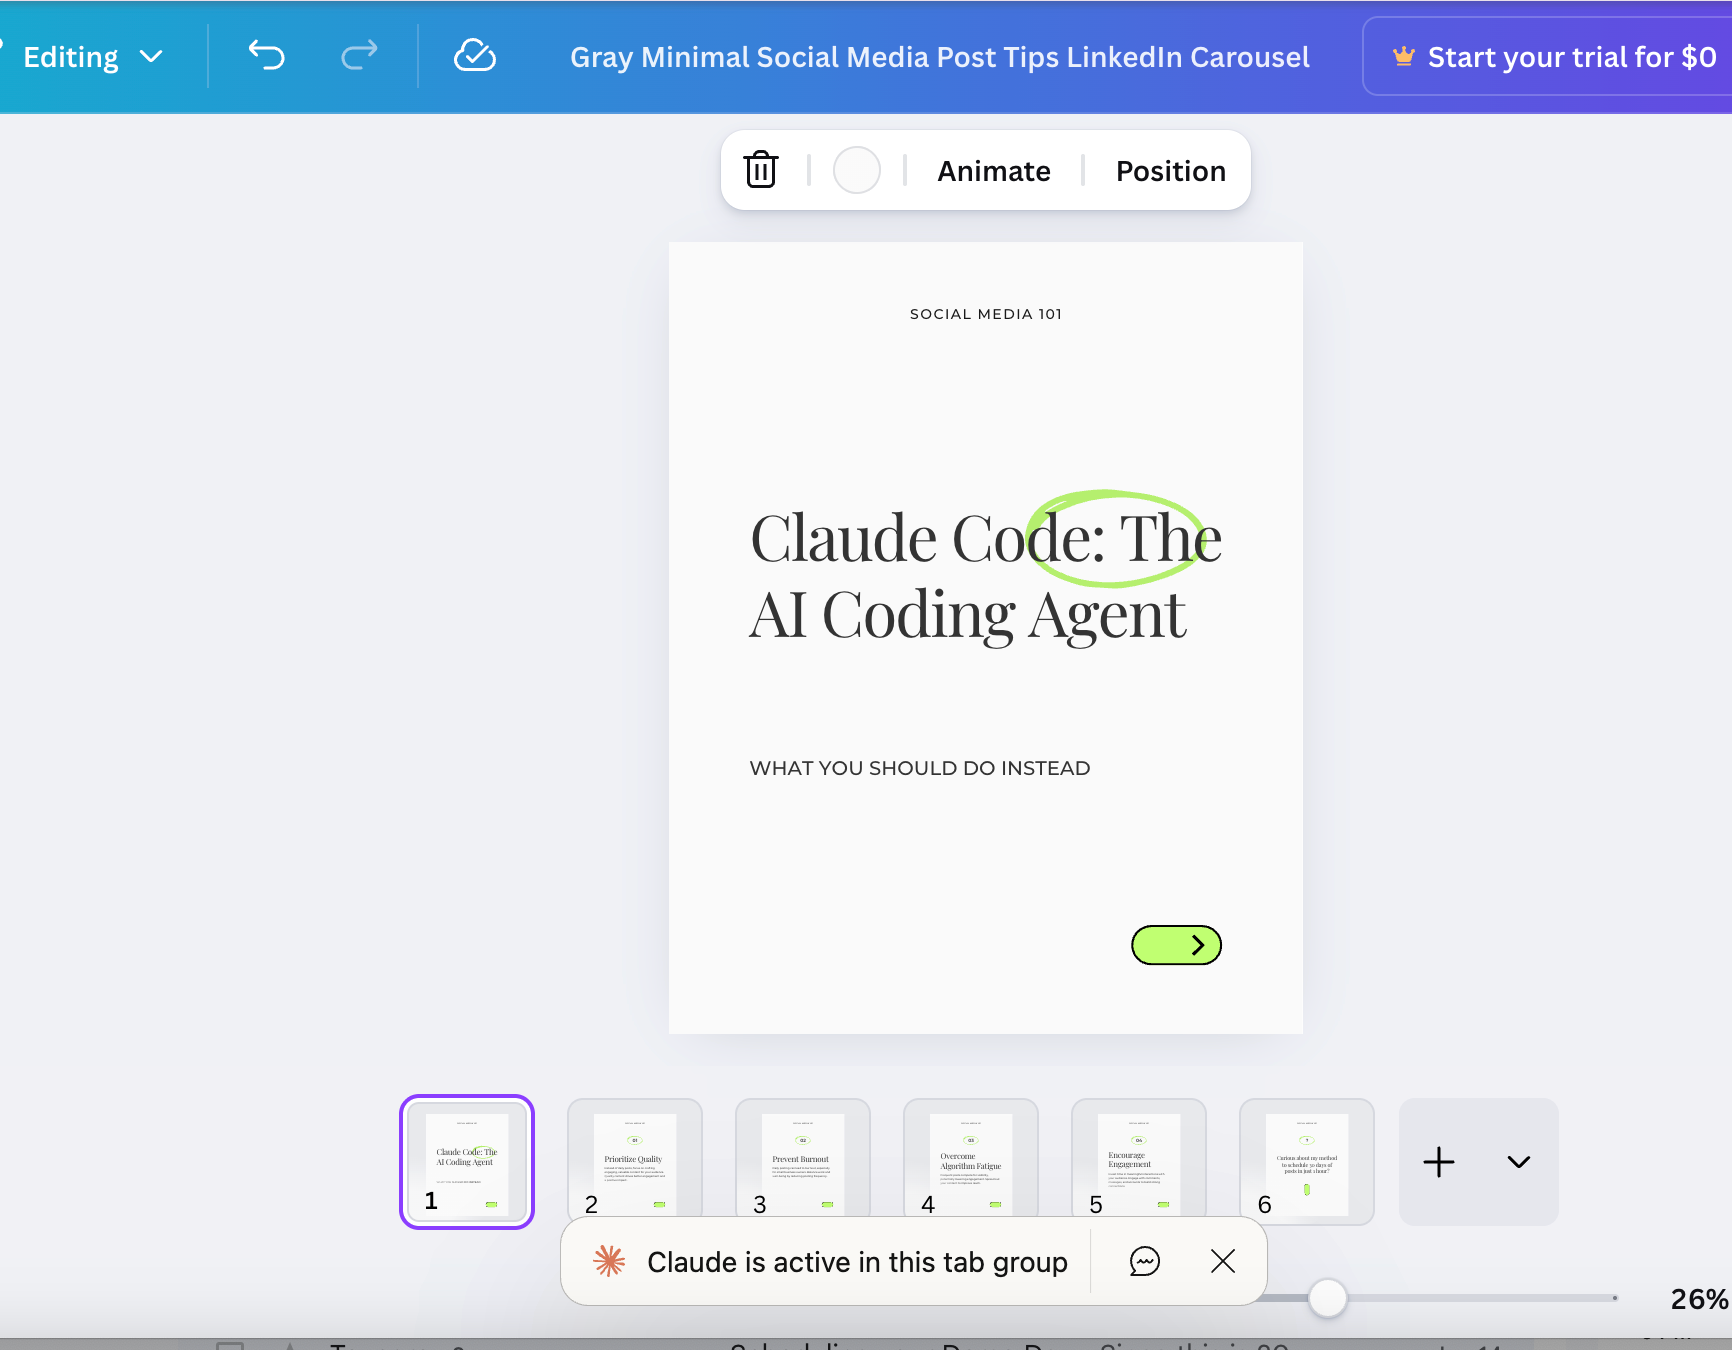
After three false starts, I finally understood what I needed: a ruthlessly simple tool that generates clean, text-focused carousels with minimal design decisions. The design should be clean, simple, and forgettable, allowing the story in the slides to shine.
This meant no busy backgrounds, no decorative stock photos, no design elements competing for attention. Just well-formatted text on a clean background, with enough visual polish to look professional without distracting from the content.
For a Minimum Viable Product, I decided to stick with text-based carousels with simple accents, logo integration, and several fonts. Maybe someday I’ll add background images, data visualization, or support for other social formats. But for now, I’m keeping it stupid simple.
Writing the spec
Before writing any code, I spent time thinking through the user experience. What would the ideal workflow look like?
I landed on a three-step wizard:
Input: Paste your content (article, notes, or just an idea) and let AI generate carousel slides
Edit: Review and refine the generated slides—add, remove, or reorder as needed
Customize: Choose a visual template, add your handle, and export
I wanted each step to be obvious, so users could figure it out in 30 seconds or less without running through a tutorial.
I also needed basic authentication (so users could save their carousels) and an admin panel (so I could monitor usage during beta testing). Nothing fancy, but these features would let me understand how people actually use the tool.
Designing the templates
Here’s where things got interesting. I was building this entire project using Claude Code, Anthropic’s command-line tool (CLI) that lets Claude write and modify code directly in your terminal. It has access to specialized “subagents” for different tasks.
One of these is the Creative Director subagent, an AI persona focused on visual design decisions. I used it to design the carousel templates.
The process was collaborative. I’d describe what I wanted (“a dark professional theme with a teal accent color”) and the Creative Director would generate the CSS, suggest color combinations, and iterate based on my feedback. We ended up with about 15 templates spanning different styles: dark themes for dramatic impact, light themes for a clean look, and gradient themes for visual energy.
The Creative Director was particularly good at maintaining consistency, which involved making sure accent colors had sufficient contrast, that text remained readable across different backgrounds, and that the overall aesthetic felt cohesive rather than randomly assembled.
Choosing the tech stack
For past cloud-based projects, I consistently used Django, PostgreSQL, Celery for background tasks, and Heroku for hosting. It’s a stack I know well, and it handles complex and data-intensive applications reliably.
But this project was different. I wanted to learn more about modern React development and choose a framework that would allow me to build my MVP quickly and run it on Vercel, which has a generous free tier.
The stack I chose:
Next.js with React: I initially started with Vite, a popular build tool for React applications. Vite is fast and lightweight, but it’s purely a frontend tool; you still need a separate backend server for API endpoints, database access, and authentication logic. That meant either running two separate services or cobbling together additional tooling.
Next.js solved this. It’s a React framework that includes API routes out of the box, so your frontend and backend live in the same codebase. It also handles server-side rendering natively, which matters for SEO (more on that shortly).
Prisma: An ORM (Object-Relational Mapping) tool that makes database operations feel like working with JavaScript objects rather than writing raw database queries. It also generates TypeScript types automatically, which catches errors before they hit production.
PostgreSQL: The database I’ve used with all of my development projects
Tailwind CSS: A utility-first CSS framework that lets you style components without writing separate CSS files. I started using it for my Future Scan project and haven’t looked back. Now I use it for everything. The components make it much easier for non-designers like me to create attractive UIs.
Puppeteer: A Node.js library that controls a headless Chrome browser. This is what generates the actual PDF files once carousels are designed. More on this later; it caused some interesting bugs.
Without Django, I’d need to build authentication and admin functionality myself. That added scope, but it also meant I’d understand every piece of the system, and be able to make any changes I wanted.
The SEO gotcha
Modern React applications have a potential SEO problem. Traditional React apps render content on the client side; the server sends JavaScript code, and the browser executes it to display the page. This is fast for users but problematic for search engines.
When Google’s crawler visits a client-rendered page, it might see an empty shell. The content only appears after JavaScript executes, and crawlers don’t always wait around for that.
This is a common issue with sites built on tools like Lovable, which generate client-side React applications. They look great for users but can be invisible to search engines.
Next.js solves this through static generation and server-side rendering. Pages can be pre-rendered at build time (static generation) or rendered on the server for each request (server-side rendering). Either way, search engines see fully-formed HTML.
For CarouselBot, I used static generation for public pages (the landing page, about page, login page) and server-side rendering for dynamic pages (the dashboard, carousel editor). This gives me the SEO benefits of traditional websites with the interactivity of a React app.
Local development and bug hunting
Development happened in cycles: write code, test locally, find bugs, fix them, repeat.
The local development environment ran on my machine and included a Next.js dev server connected to a local PostgreSQL database. This made iteration fast. I could change a component, save the file, and see the result immediately in my browser.
Claude Code handled most of the actual coding. I’d describe what I wanted (“add an edit button for completed carousels” ) and Claude would write the implementation. When something didn’t work, I’d describe the problem, and Claude would debug it.
This was my first time working with React and Next.js, so it was no surprise that there were bugs. Some of them were classic development goofs: typos in variable names, missing null checks, incorrect API response handling. Others were more interesting:
The carousel state bug: When users edited slides, changes weren’t persisting correctly. The issue was a timing problem in the code; the part handling updates was working with outdated information instead of the current state. Claude identified this quickly once I described the symptoms.
The template preview lag: Switching templates felt sluggish. The fix involved caching the slide rendering component so it wouldn’t rebuild from scratch every time something changed on screen.
Cookie handling in middleware: The authentication system uses secure cookies to track who’s logged in. Getting the code that checks these cookies to work correctly across different pages required careful attention to how Next.js processes requests.
Migrating to Vercel
For production hosting, I chose Vercel. They’re the company behind Next.js, so the integration is seamless. You push code, and Vercel automatically builds and deploys it.
Coming from Heroku, Vercel felt like a generation leap. The dashboard is cleaner, the deployment logs are more readable, and the analytics give you immediate insight into how your application is performing.
A few things I appreciated:
Serverless by default: Your application scales automatically in response to usage. When nobody’s using the app, you’re not paying for idle resources. When traffic spikes, new instances spin up automatically.
Built-in PostgreSQL: Vercel offers managed PostgreSQL databases with connection pooling already configured.
Preview deployments: Every git push creates a unique preview URL. This is fantastic for testing changes before they go live.
The free tier is generous enough for development and testing. The Pro plan ($20/month) offers longer function timeouts and more resources, which turned out to be necessary for my use case, as we’ll see.
While I had a good experience with my first deployment to Vercel, I’ve heard from more experience developers that Cloudflare (via serverless workers) and Railway may be less expensive and more flexible than Vercel, especially if I need to scale.
The inevitable production bug
Everything worked perfectly in local development. PDF generation was fast, the exports looked great, and the workflow was smooth.
Then I deployed to production, and PDF generation completely died.
The error message was cryptic: “Failed to launch the browser process.” Puppeteer, the library that controls Chrome to generate PDFs, couldn’t start the browser.
This turned out to be a multi-layered problem:
Layer 1: Serverless environment constraints. In local development, Puppeteer downloads and uses its own Chrome binary. On Vercel’s serverless infrastructure, this doesn’t work. You need a special Chrome build designed for serverless environments.
Layer 2: Package version conflicts. The serverless Chrome package (@sparticuz/chromium) needed to match the Puppeteer version precisely. I had version mismatches that caused silent failures.
Layer 3: Timeout limits. PDF generation with Puppeteer is resource-intensive. It’s literally spinning up a browser, rendering HTML, and converting it to PDF. On Vercel’s free tier, functions timeout after 10 seconds. Not nearly enough.
I initially wondered if I could deal with the timeout issue with a job queue. And the answer was, unfortunately, no. On serverless platforms like Vercel, there are no persistent background workers. This means the function processing the queue would still need enough time to complete the PDF generation, so queuing wouldn’t sidestep the timeout constraint. (That said, if CarouselBot grows to many concurrent users, I may add queuing to meter resources and prevent overload.)
The fix required upgrading to Vercel Pro (for 60-second timeouts), updating all the Chrome-related packages to compatible versions, and adding serverless-specific flags (--single-process, --no-zygote) to the browser launch configuration.
Everything works 🎉
After the production fixes, CarouselBot does what I originally envisioned. You paste content, AI generates carousel slides, you customize them, and you download a PDF ready for LinkedIn.
The workflow takes about 10-15 minutes for a complete carousel, and most of that time is spent editing the copy for voice and flow, not fighting with design tools. That’s a significant improvement over my previous approaches.
I’m holding off on a custom domain for now. Beta testers are using the raw Vercel URL (not the prettiest, but functional). If the tool proves useful and I decide to develop it further, I’ll choose a proper name and domain then.
Beta testing
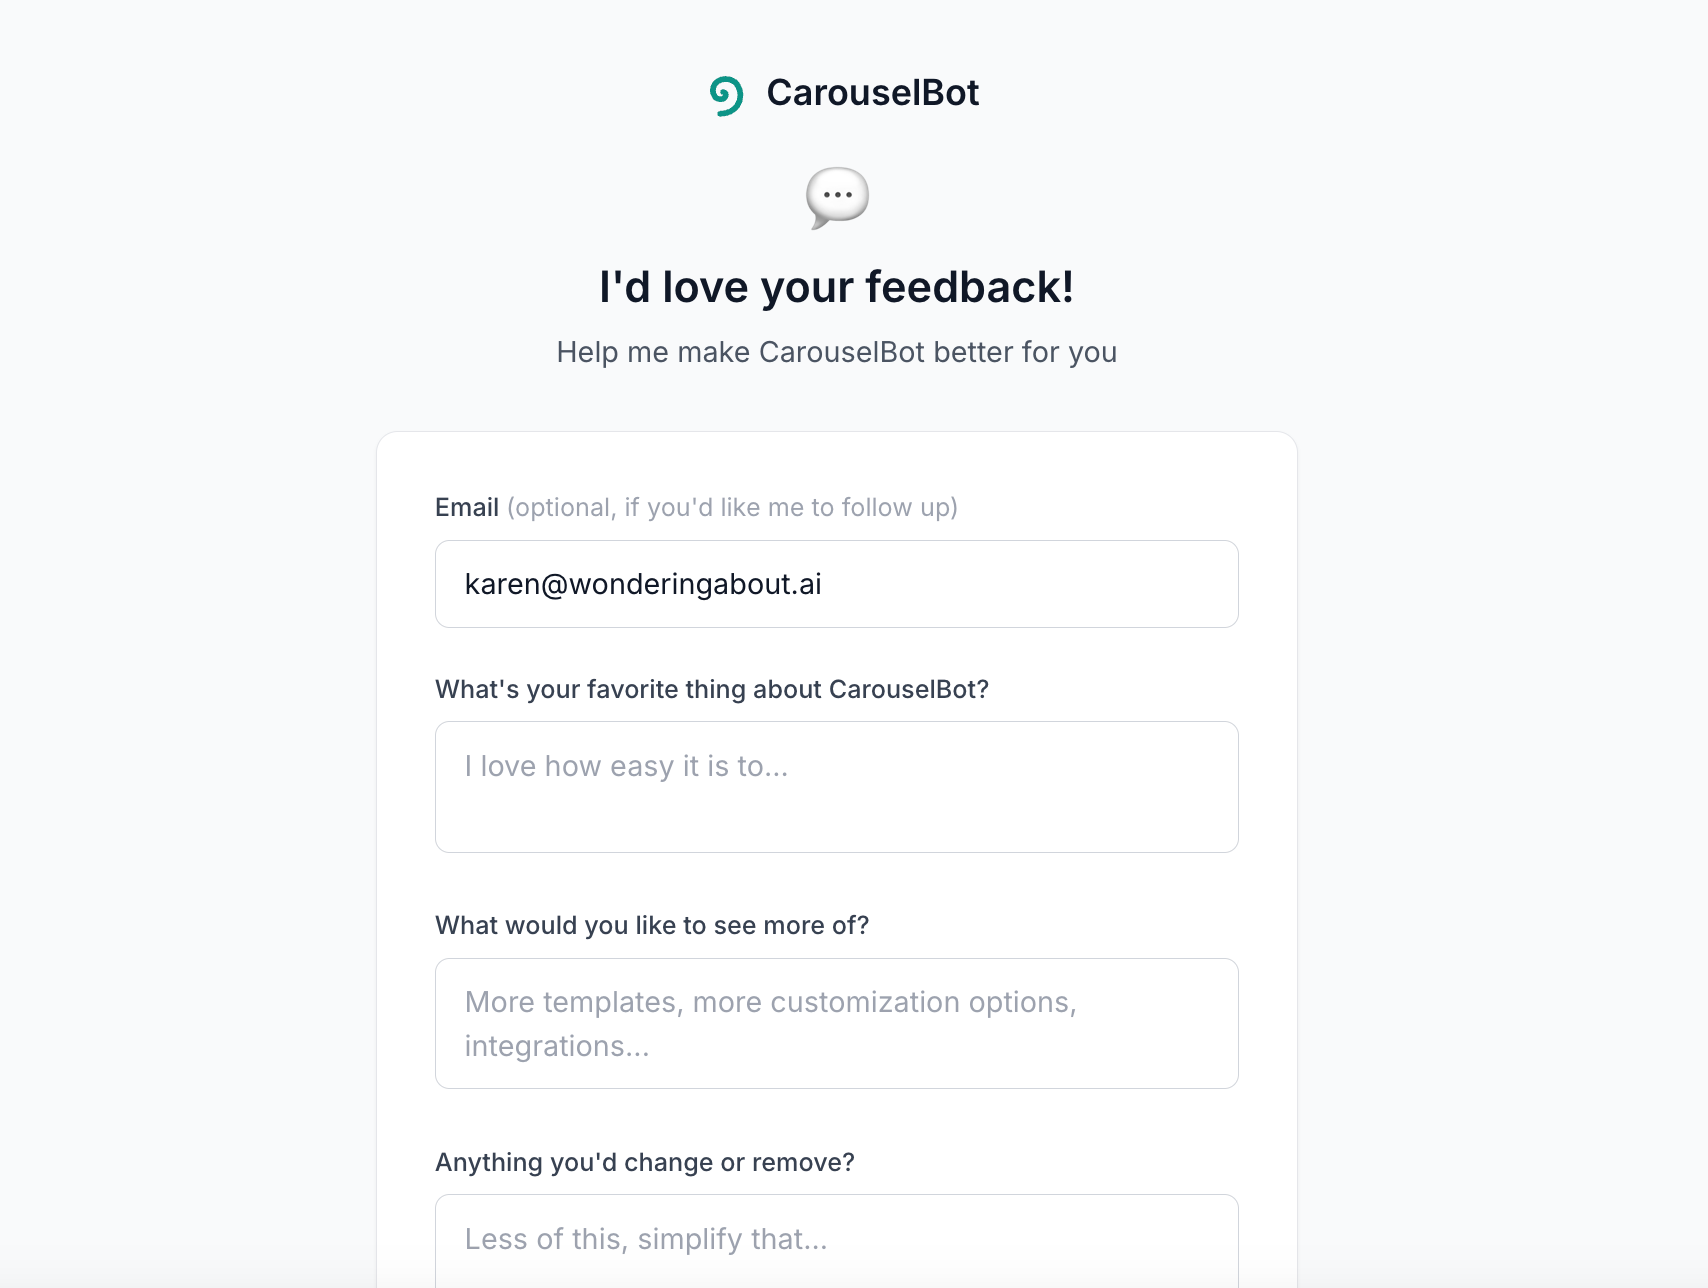
I gave my paid subscribers a sneak preview of the tool earlier this week, and now I’d like to find up to 20 more people to give it a try. If you leave a comment or send me a message, I’ll DM you with the access code you’ll need to get started.
I’ve left a link to the beta feedback form in the footer of the tool:
What I learned
Building CarouselBot reinforced some lessons I already knew and taught me a few new ones:
Start with the workflow, not the technology. My first three attempts failed because I was trying to force existing tools to fit my workflow. The successful approach started with the workflow I wanted and built technology to support it.
AI-assisted coding is genuinely transformative. Claude Code wrote probably 95% of the code in this project because Next.js is fairly new to me. While debugging took a bit longer because I sometimes had to look things up and ask a lot of questions, development overall took me less than two days, testing included.
Simple is harder than complex. Deciding what NOT to include was more difficult than adding features. Every template I didn’t add, every option I didn’t expose, every workflow I didn’t support…those were all decisions that required resisting the urge to “just add one more thing” or, you know, clone everything in Gamma.
Production is a different beast. Local development gives you a false sense of security. The Puppeteer issues only appeared in production, in the specific constraints of a serverless environment. You don’t really know if something works until it works in production.
Build for yourself first. I built CarouselBot to solve my own problem. That kept the scope tight and gave me a clear North Star for every decision. If other people find it useful, great. But it’s already succeeded by making my own carousel creation faster.
CarouselBot is currently in beta. 🎉 If you’re interested in trying it, leave a comment or DM me for access.
A quick reminder that paid subscribers to Wondering About AI get all my tools for free
In addition to CarouselBot, these include:
Future Scan — Search and analyze 130,000 arXiv papers on AI and machine learning. Updated weekly. (Paid only)
Substack Newsletter Audit — Get a comprehensive newsletter health check in seconds. Track metric closely linked to paid subscriber growth. (Paid only)
Substack Reader — Easily manage your Substack subscriptions (Paid and free)
Prompt Collector — Organize your prompts with tags and collections, access them in one click, and add variables for easy testing (Paid and free)
God, I love you...
It reads more like a Carousel odyssey!
Love the approach of having Claude generate CSS, hadn't thought of that at all!
I just brute force these things with nano banana, but that can run up quite the bill 😆